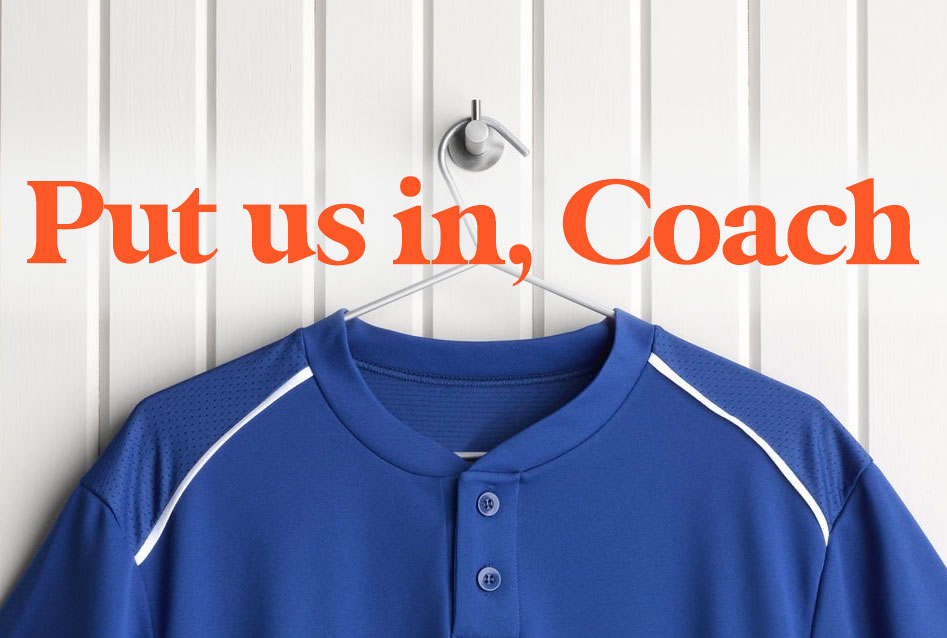
Whether you’re organizing a much-anticipated camp, unveiling a limited-edition merchandise collection, or offering specialized classes, there’s always the challenge of items or spots running out. The disappointment that follows can be disheartening for both organizers and potential participants. But with Cheddar Up, you can learn how to create a waitlist and start taking advantage of more opportunities!
Why the buzz about waitlists?
It’s not just a list- it’s an opportunity. With this Team plan feature, you don’t have to turn people away when items or event slots sell out. Instead, allow them to express their interest so you can better manage demand and expectations.
See step-by-step instructions on setting up this feature below or check out this video to see it in action:
How to create a waitlist item
Creating a waitlist for an item is a walk in the park:

Step #1
Navigate to Build, then Items, then Add Items and select the Settings tab.
Step #2
Turn on the Set available quantity toggle and enter the total quantity available
Step #3
Enable the Create a waitlist toggle.
Pro tip: Incorporate custom text that will be displayed after someone joins the waitlist—this can inform them about when they might hear back, who they can contact for questions, and more.

Step #4
Click Save and you’re good to go!
Checking on your waitlists
Keeping an eye on the demand is easy:
Step #1
Head to the Manage section of your collection.
Step #2
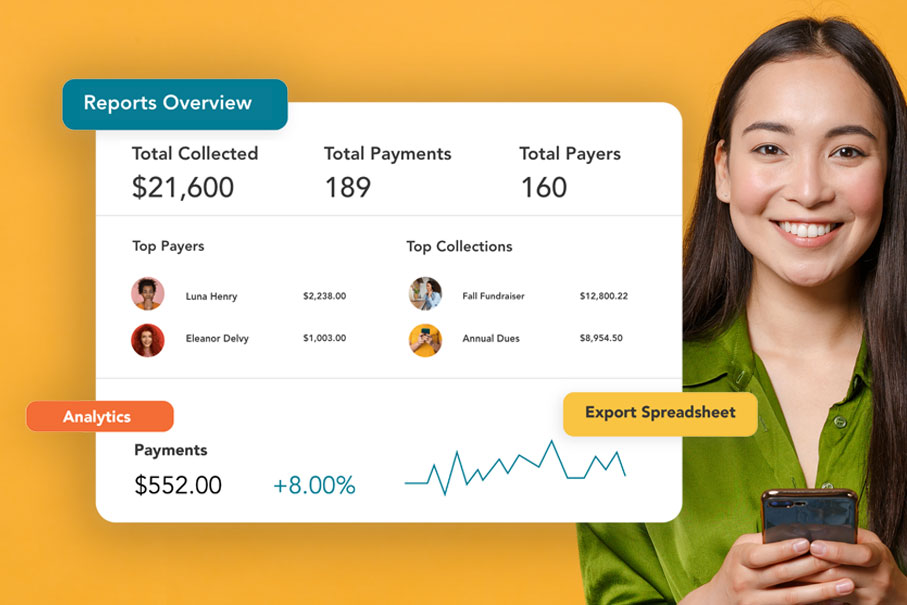
Click on the Items tab for an overview of purchased items and the number of interested individuals on your waitlists.
Step #3
Click the three-dot icon beside each item and select View Waitlist. This reveals detailed insights, including when each person joined the waitlist.

Step #4
Fancy a spreadsheet version? Just hit ‘export’!
Communicating with Your Waitlist
So, an item or slot became available again? Great! Reach out to the folks on your waitlist:
Step #1
From the Waitlist modal, select the individual(s) you wish to notify.
Step #2
Click the now visible Send Message button.

Step #3
This will whisk you to the Cheddar Up Message Center, where you can craft a note asking them to revisit your collection and complete their purchase.
")
In the dynamic world of events and merchandise sales, “sold out” shouldn’t be the end of the conversation. With Cheddar Up’s waitlist feature, it’s just a new beginning, keeping possibilities alive and potential attendees or buyers hopeful.
Before you go:
Now that you know how to create a waitlist, you’re ready to make the most of this feature! Turn your collections into community touchpoints and leave no one behind. Dive into the possibilities that the waitlist feature unlocks!