Creating and managing a Spiritwear Store is easy with Cheddar Up
If you’re not yet familiar with Cheddar Up, just know that it’s easy! It’s made to be wildly flexible and easy enough for anyone to dig in and start creating online collection pages. Groups and organizers use Cheddar Up for zillions of different things. But it turns out that online spiritwear stores are a common use case. Our goal in this blog is to help you create your online spiritwear store (or any store) quickly and easily, while drawing your attention to game-changing features that will make your sale high functioning and sophisticated.

Step 1
Add Items
Getting started on Cheddar Up is meant to be simple. Simply create a Cheddar Up account, click “create a collection” and you’re off to the races. If you’d like a quick tutorial, watch this 6-minute demo. Once you give your sale a name and description, you’ll arrive at the Items step. Here, there are two types of items you can create—standard items or items with variations. We go over both below.
STANDARD ITEMS
To create a standard item, click “Add Item” and give each item a:
- Name
- Price
- Image
- Description
- Quantity available (perfect for tracking inventory and managing when items are “sold out”)
- Questions (great for allowing the customer to select size, etc.)
With standard items, if you have one shirt available in different sizes and colors, you’ll typically need to create a separate item for each color available (using item questions to allow customers to select size). While this can work well, if you have a lot of products and a lot of colors, this can sometimes result in an unnecessary amount of items for your customers to wade through.
The alternative, in this case, is to explore and understand item variations, which are definitely worth putting to work if you have a big spiritwear store.
ITEM VARIATIONS
To create an item with variations, toggle on “Add variations”, which will allow you to include:
- Colors available
- Sizes available
- Photos for each color
- Varying quantities available for each size and color

Step 2
Create categories and a navigational menu
When building your spiritwear store, think about how you want to organize your products, and consider using Categories to do so. A category is a way to visually separate items within a collection. Categories can also be turned into a navigation menu, which lets customers easily filter items when browsing. This streamlines the shopping experience for your community on large spiritwear stores.
On the “Items” step, you can create an unlimited number of categories and then drag and drop items into these categories.
Once you’ve created categories, use the “Display Options” menu (also on the “Items” step) to turn your categories into a navigation menu for your customers.
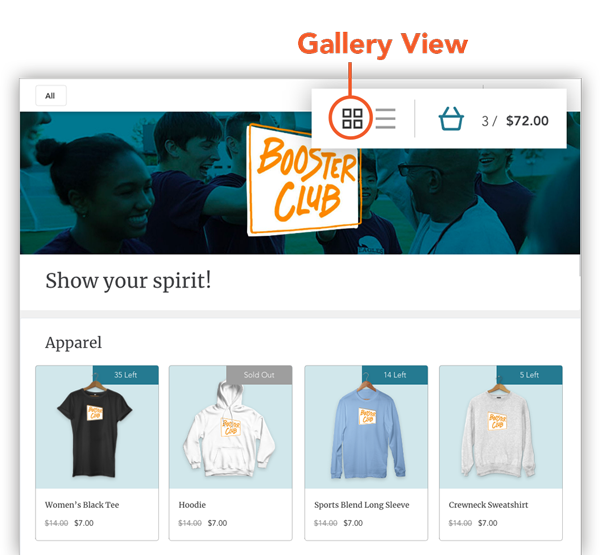
PRO TIP: Choose “Gallery” format to better showcase your items
On the “Items” step, make sure you explore your display options for your spiritwear store. If you’re selling items with accompanying photos, we highly recommend that you toggle on the “Gallery” format. Gallery format displays items in tile-like blocks, resulting in an e-commerce experience your community will love. Here’s an example of a collection page in Gallery format:

Step 3
Consider Custom Sale Settings
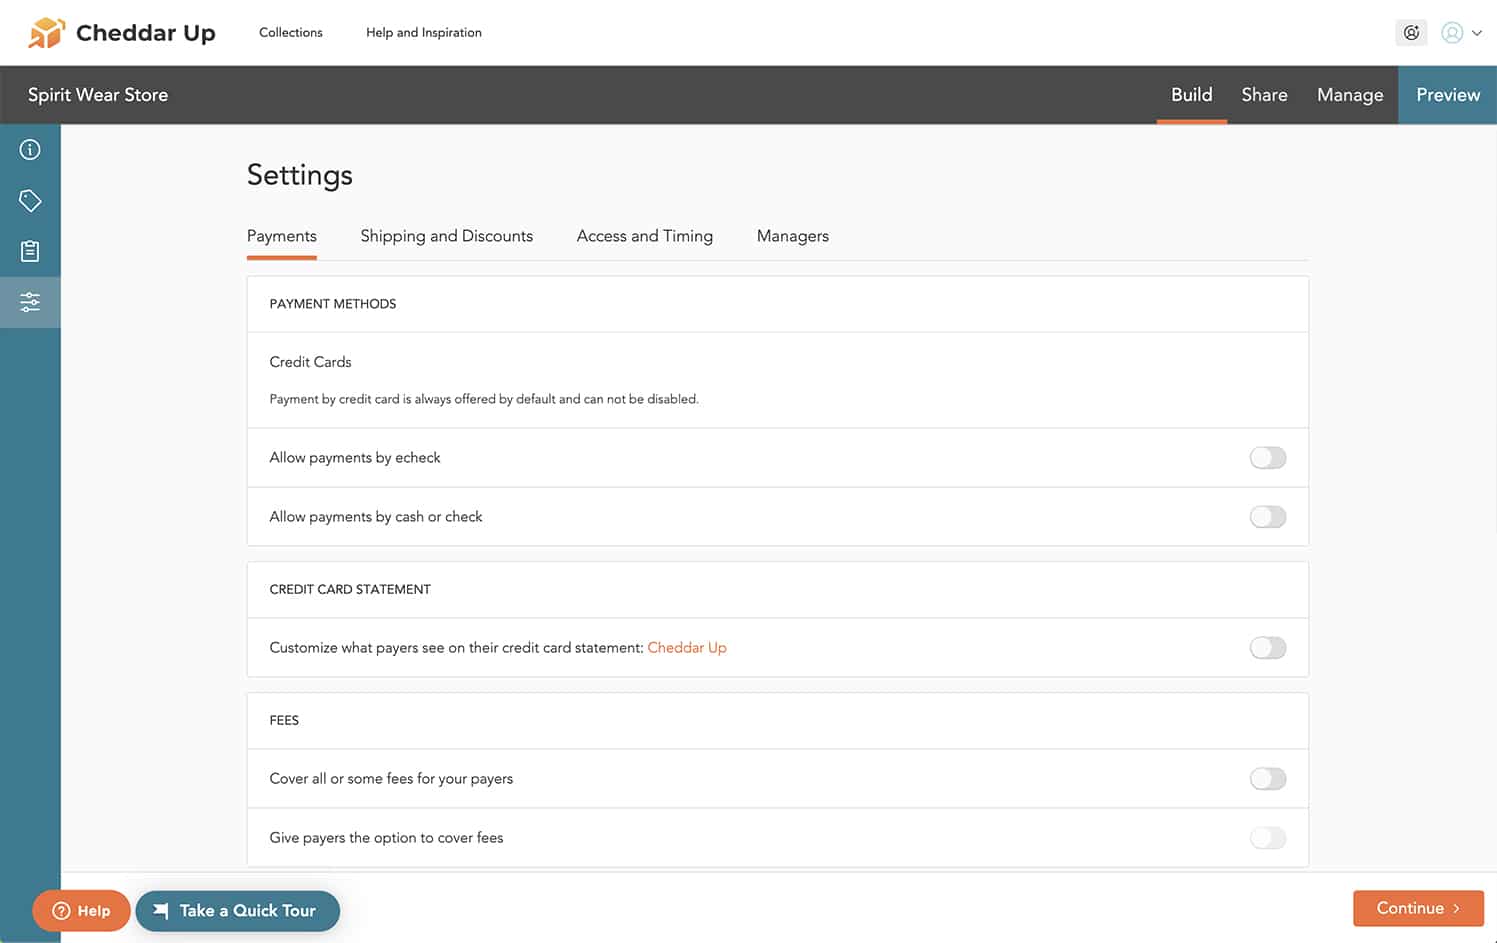
Depending on your needs, there are a number of features available that you may find useful for your online store. When building your spiritwear store, the last step is called “Settings”. These are settings that are specific to the collection page—or store—that you’re building. Here are some settings you might want to check out:
Custom receipt
Customers will automatically receive a detailed email receipt when they make a purchase on your online spiritwear store (time saver – win!). Consider the option of customizing this email receipt. Learn more.
Shipping/local pick up
Want to provide a shipping option for an additional fee? You can build that into customer checkout. Learn more.
Discount codes
Want to allow staff members to make a purchase but receive a discount? Or perhaps you want to offer a special sale? Do this with our uber-flexible discount code feature. Learn more.
Taxes
Need to charge sales tax on your items—or perhaps just on some items? Our tax feature lets you add a tax to the items that you deem appropriate, carrying those designated taxes through to customer checkout.
Start and end time
Want to put your sale on auto pilot and have it open and close at designated times? Use our Timing feature. Learn more.

Step 4
Customize Your URL and PROMOTE
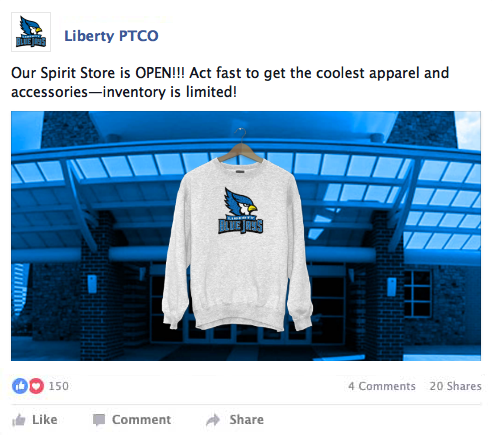
Even the most sophisticated online spiritwear store is all for naught if it’s not well promoted. That’s why we always say, “Promote! Promote! Promote!” We recommend promoting your spiritwear store link everywhere and anywhere. Common channels in which to share your store might include eblasts, websites, school apps…you can even put your link on a paper flyer.
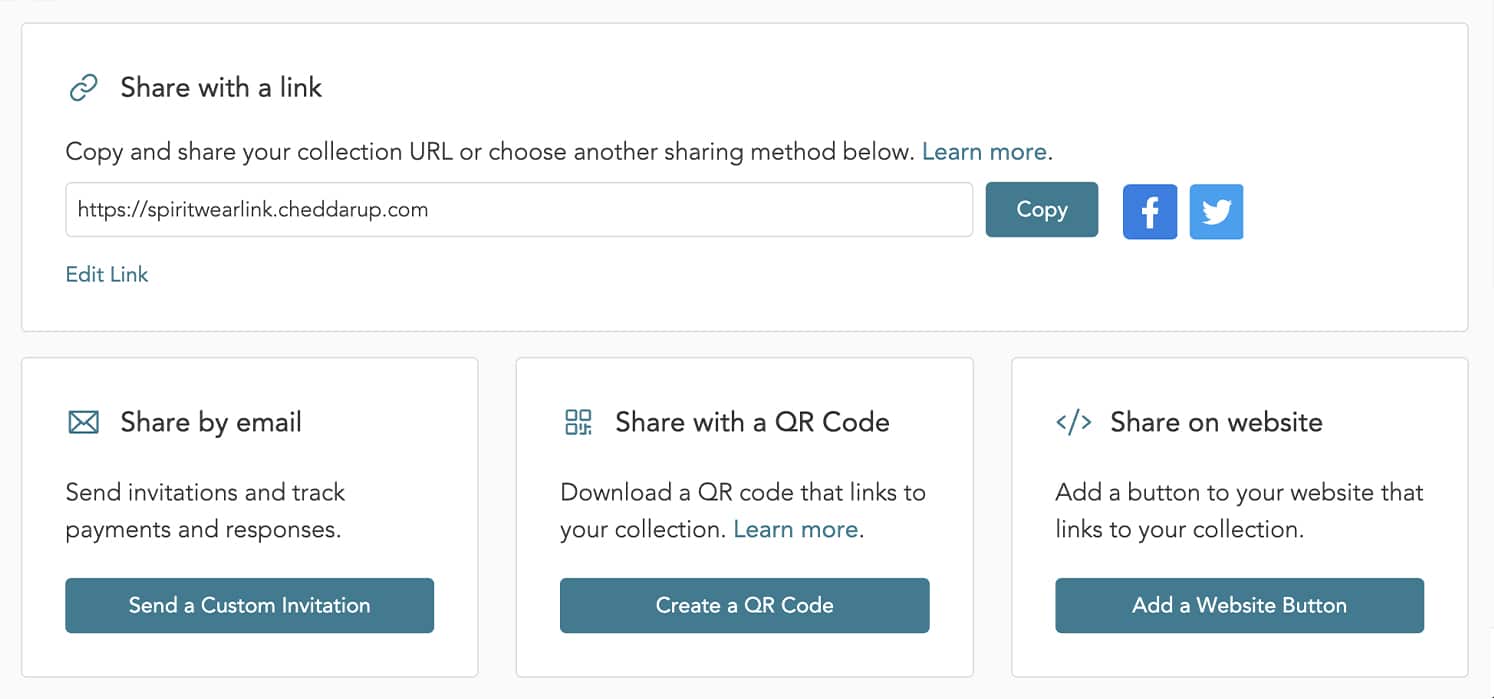
This brings us to our final point… Before you share your spiritwear store URL to the masses, take a moment to customize your spiritwear store URL. Once you finish building your store, on the “Share” step, you’ll see an “Edit Link” option, which will allow you to customize the first part of your URL (also known as the “slug” of the URL). Why do this? It’s quite likely that members of your community might use the flyer their child brings home and try to make a purchase on the go. This often means they’ll attempt to key in the URL on their mobile device, thus it’s easier if your URL is short and tidy.
And, you’re done!
After you’ve created your spiritwear store and shared it with your group, the payments will roll in. Learn all about how to view and track payments from your Manage view.
Need to accept point-of-sale payments in addition to online payments? Learn more and order your Bluetooth credit card reader.
